Create Your Own AI Action Figure with 3D Printing
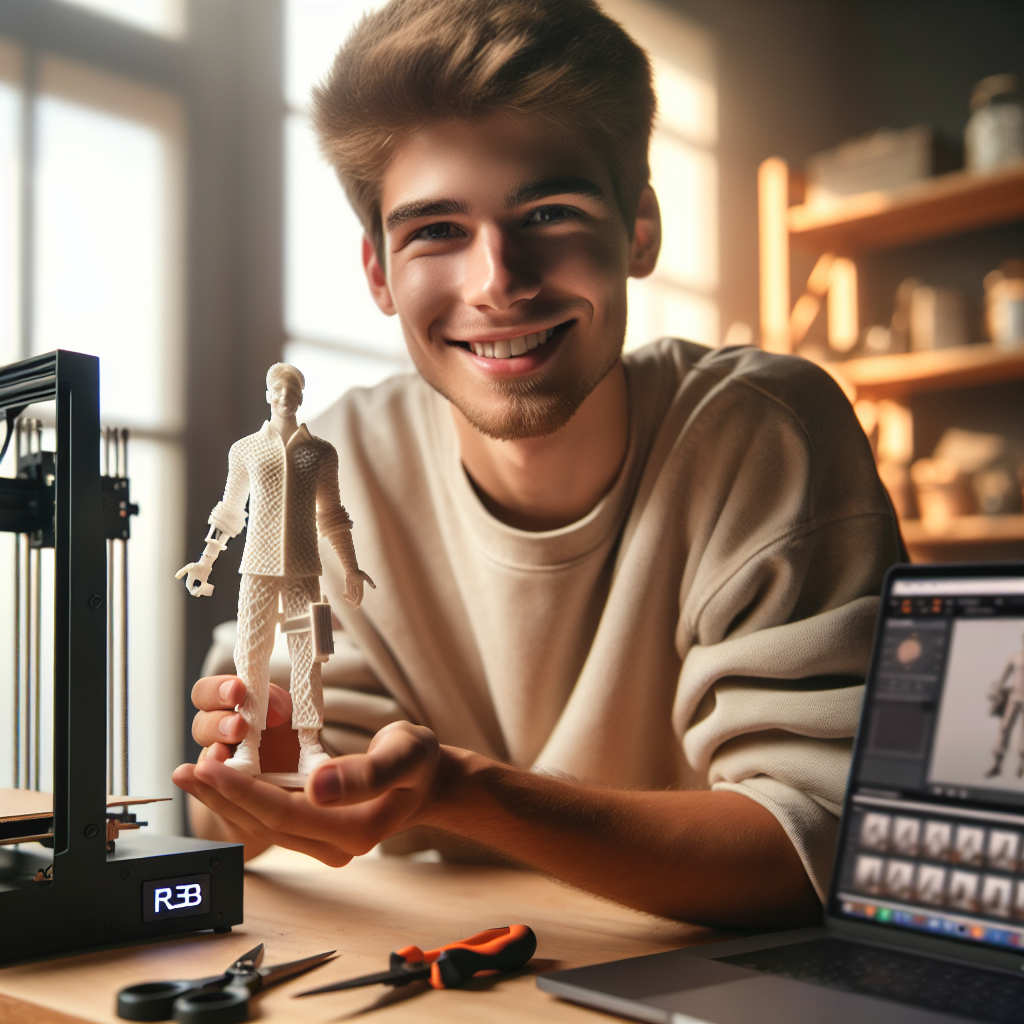
Have you ever wished you could turn your wildest imagination into a tangible action figure? Now you can. Thanks to advances in artificial intelligence and 3D printing technology, creating a personalized action figure has never been more accessible. In this guide, we’ll walk through the steps to design and print your own AI-generated action figure.
The Fusion of AI and 3D Printing: A Creative Revolution
The combination of AI image generation and 3D printing has opened doors to new creative possibilities. These technologies allow anyone to bring fictional characters to life without advanced design skills. What once required professional sculpting and manufacturing can now be done from your home or local makerspace.
AI tools like Midjourney, DALL-E, and Stable Diffusion can create detailed character concepts based on text prompts. Then, 3D printing brings these digital creations into the physical world. This process democratizes toy making, letting hobbyists and enthusiasts create unique figures that wouldn’t exist otherwise.
What You’ll Need to Get Started
Before diving into the creative process, gather these essential tools and resources:
- Access to an AI image generator (Midjourney, DALL-E, or Stable Diffusion)
- 3D modeling software (like Blender, which is free)
- A 3D printer or access to a 3D printing service
- Basic understanding of 3D printing concepts
- Patience and creativity
Don’t worry if you’re new to some of these tools. The learning curve is manageable, and several online resources can guide you through each step. Additionally, many communities offer support for beginners.
Step 1: Creating Your Character with AI
The journey begins with designing your character using an AI image generator. These powerful tools transform text descriptions into visual artwork. To get the best results, follow these guidelines:
Crafting Effective Prompts
Writing clear, detailed prompts is crucial for getting the AI to generate exactly what you want. Here’s how to craft effective prompts:
- Be specific about the character’s appearance, clothing, and pose
- Mention artistic style (cartoon, realistic, anime, etc.)
- Include reference to lighting and background
- Specify if you want a full body shot (important for action figures)
For instance, instead of simply writing “robot soldier,” try: “A detailed full-body shot of a futuristic robot soldier with red armor plates, battle-worn texture, standing in a combat-ready pose, dramatic lighting, white background, 3D render style.”
Choosing the Right AI Platform
Different AI platforms have unique strengths. Midjourney often excels at artistic renderings, while DALL-E might produce more consistent results for certain styles. Experiment with different platforms to find which works best for your vision.
Generate multiple variations of your character. This provides options and helps refine your design. Save all promising images, as they’ll serve as reference material for the next step.
Step 2: Converting 2D Images to 3D Models
Once you have your character design, the next challenge is transforming it from a flat image into a three-dimensional model. There are several approaches to this crucial step:
Using AI-Powered 3D Generation Tools
Emerging AI tools can generate 3D models directly from 2D images. Services like Luma Labs’ Dream Machine or Spline’s AI 3D generator create initial 3D models that you can refine. These tools are constantly improving and offer a good starting point, especially for beginners.
Manual 3D Modeling
For those with 3D modeling experience, creating models from scratch in software like Blender offers complete creative control. This method involves:
- Importing your AI-generated image as a reference
- Creating basic geometric shapes that match the character’s form
- Sculpting details using digital sculpting tools
- Adding texture and color information
While this approach requires more skill, it allows for precise adjustments and articulation points for posable figures.
Hybrid Approaches
Many successful creators use a combination of methods. For example, you might use an AI tool to create a basic 3D model, then import it into Blender for refinement and articulation. This can save time while still allowing for customization.
Step 3: Preparing Your Model for 3D Printing
Before sending your creation to a printer, you’ll need to prepare the 3D model properly. This preparation ensures successful printing and a durable figure.
Making Your Model Printable
Check and fix these common issues in your 3D model:
- Ensure the model is “watertight” (no holes in the mesh)
- Add proper wall thickness to prevent fragile parts
- Consider support structures for overhanging features
- Decide whether to print as a single piece or separate parts
For articulated action figures, you’ll need to create separate components with connection points. Design joints that allow movement while maintaining structural integrity. Ball-and-socket joints work well for shoulders and hips, while hinges suit knees and elbows.
Choosing File Formats and Settings
Export your model in STL or OBJ format, which most 3D printers accept. When setting up the print, consider these factors:
- Layer height (finer layers mean more detail but longer print times)
- Infill percentage (affects weight and strength)
- Print orientation (impacts surface finish and strength)
For action figures, a layer height of 0.1-0.2mm offers a good balance between detail and print time. An infill of 15-20% provides adequate strength without excessive material use.
Step 4: Printing Your Action Figure
With your model prepared, it’s time to bring your character into the physical world through 3D printing.
Home Printing vs. Professional Services
If you have access to a 3D printer, you can print your figure at home. FDM (Fused Deposition Modeling) printers are common and affordable but have visible layer lines. Resin printers offer finer detail but require more careful handling of materials.
Alternatively, services like Shapeways or local maker spaces can print your models. These options often provide access to industrial-grade printers with superior quality and material options. They’re especially useful for complex or large figures.
Choosing the Right Materials
Consider these popular 3D printing materials for action figures:
- PLA: Easy to print, biodegradable, but somewhat brittle
- PETG: More durable than PLA, good for functional parts
- Resin: Excellent detail, but can be brittle unless specialty formulations are used
- Nylon: Extremely durable, perfect for articulated parts
For articulated figures with moving parts, combine materials strategically. Use flexible filaments for connection points and rigid materials for the main body parts.
Step 5: Post-Processing and Finishing Touches
Raw 3D prints often need refinement to achieve a professional look. Post-processing transforms your print from looking “3D printed” to looking like a commercial product.
Cleaning and Assembly
First, remove any support structures carefully using flush cutters or sandpaper. For resin prints, thoroughly clean and cure the parts according to the manufacturer’s instructions. Finally, assemble multiple parts using appropriate adhesives or mechanical connections.
Sanding and Surface Preparation
Smooth the surface by sanding with progressively finer grits (starting around 220 and working up to 1000+). For layer lines on FDM prints, consider using filler primers or epoxy coatings to create a smoother surface.
Painting and Finishing
Apply a primer suited for plastics, then paint your figure using acrylic model paints. Consider these techniques for professional results:
- Use thin layers rather than thick coats
- Apply washes to enhance details
- Dry-brush highlights on raised areas
- Seal with a clear coat (matte or glossy) for protection
Advanced creators might attempt techniques like airbrushing for smooth gradient colors or weathering effects for a battle-worn appearance.
Showcasing Your Creation
After all your hard work, display your custom action figure proudly. Consider creating custom packaging or a display stand that complements your character’s theme. Share photos online with communities like r/3Dprinting to inspire others.
Many creators find joy in creating entire collections or dioramas featuring their custom figures. This extends the creative process and builds a unique narrative around your characters.
Legal Considerations
While creating custom figures is generally fine for personal use, be aware of potential copyright issues. Avoid selling figures based on existing copyrighted characters without proper licensing. When using AI tools, check their terms of service regarding commercial use of generated content.
For original character designs, consider whether you want to share your 3D files openly or protect your designs. Platforms like Thingiverse allow you to share models with various licensing options.
The Future of Custom Action Figures
The technology enabling custom action figures continues to evolve rapidly. AI image generation improves almost monthly, while 3D printing becomes more accessible and affordable. Future developments might include:
- One-click solutions to convert AI images directly to printable 3D models
- More detailed multi-material printing for realistic textures
- Embedded electronics for lights or sounds in custom figures
These innovations will further democratize toy creation, allowing anyone to build the action figures of their dreams.
Conclusion
Creating your own AI-generated and 3D-printed action figure merges cutting-edge technology with personal creativity. While the process requires learning several tools, the satisfaction of holding your unique creation makes the effort worthwhile.
Whether you’re making figures for personal enjoyment, gifts, or prototype development, this workflow opens possibilities previously available only to professional toy designers. As AI and 3D printing technologies continue to advance, the process will become even more accessible and refined.
Have you created your own custom action figure? What character would you most like to bring to life? Share your creations and ideas in the comments below!


